
Effective March 30, 2024, Duo Security stopped supporting the traditional Duo Prompt. Applications with extended support (such as NetScaler with iframe integration) will continue to function and remain eligible for troubleshooting until their end-of-support date on December 31, 2024.
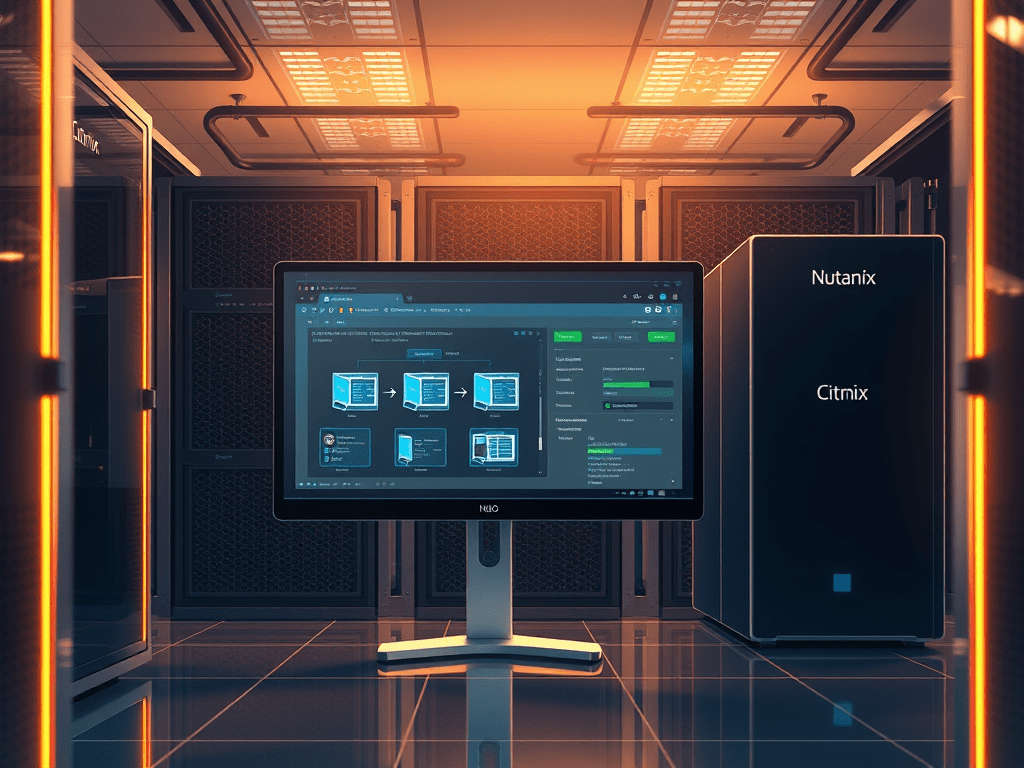
To align with these changes, I will provide a configuration for NetScaler utilizing nFactor authentication. This setup will integrate on-prem Secure LDAP (LDAPS) with a new OAuth-based authentication process. Duo will serve as the OIDC/OAuth identity provider for two-factor authentication.
Here’s how the process will work:
- The user’s credentials will be validated against Active Directory via Secure LDAP.
- Using the interactive, web-based Duo Universal Prompt, NetScaler will redirect the user to Duo’s service for secondary authentication and policy enforcement.
Before proceeding, please review:
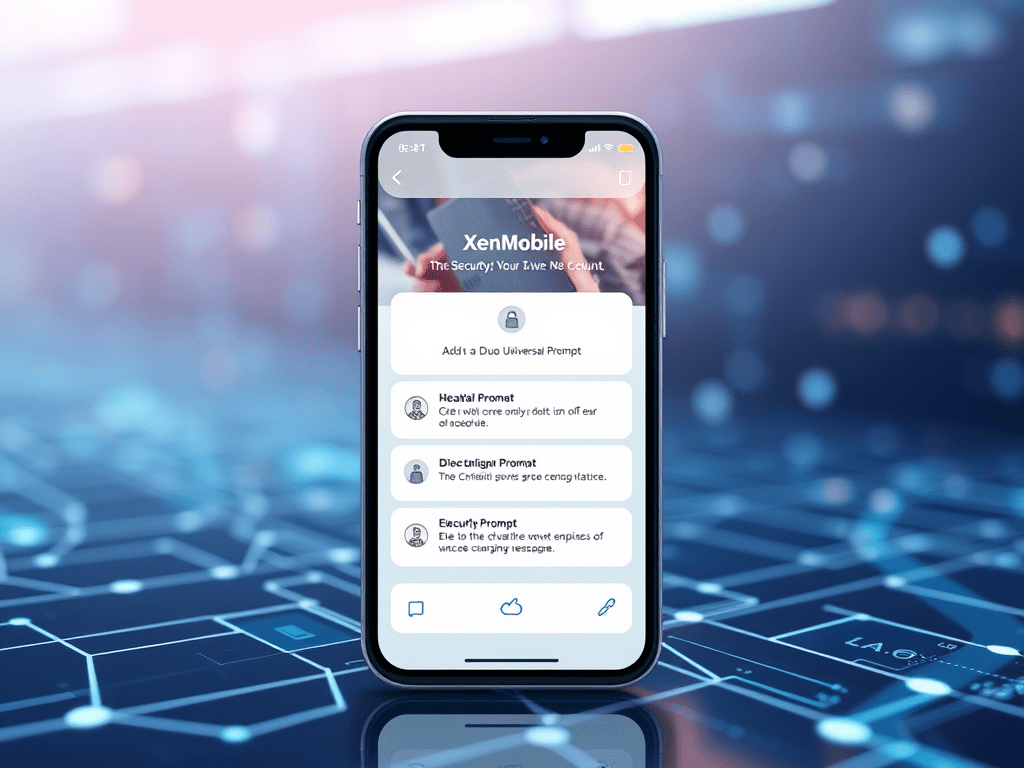
What are the differences between the traditional Duo Prompt and the Universal Prompt?
Prerequisites
To implement this configuration, ensure the following requirements are met:
- NetScaler Licensing
- Advanced or Premium license is required.
- Premium licenses may be referred to as Platinum licenses in older NetScaler versions.
- Verify your NetScaler license before continuing.
- NetScaler Firmware
- Firmware version 14.1-29.63 or newer is required.
- SSL Certificate
- An SSL certificate must be properly configured on the NetScaler.
- NTP Configuration
- The NetScaler must have NTP configured with a reachable time server to ensure accurate time synchronization.
- TLS/SSL Compatibility
- Duo no longer supports TLS 1.0 or 1.1 connections or insecure TLS/SSL cipher suites. Ensure that your NetScaler configuration adheres to these requirements.
- Network Connectivity
- The NetScaler must be able to communicate with Duo’s service over SSL TCP port 443.
INSTALLATION:
Setup DUO
- Log in to the Duo Admin Panel and navigate to Applications → Protect an Application.
Locate the entry for NetScaler Web in the applications list. Click Protect to the far-right to configure the application.
- Get your Client ID, Client secret, and API hostname. You’ll need this information to complete the OAuth nFactor policy and action.
NetScaler
Create Cipher Group
# SSL Cipher Groups
# -----------------
add ssl cipher TLS1.3_Ciphers_Group
bind ssl cipher TLS1.3_Ciphers_Group -cipherName TLS1.3-CHACHA20-POLY1305-SHA256 -cipherPriority 1
bind ssl cipher TLS1.3_Ciphers_Group -cipherName TLS1.3-AES128-GCM-SHA256 -cipherPriority 2
bind ssl cipher TLS1.3_Ciphers_Group -cipherName TLS1.3-AES256-GCM-SHA384 -cipherPriority 3
bind ssl cipher TLS1.3_Ciphers_Group -cipherName TLS1.2-ECDHE-ECDSA-AES256-SHA384 -cipherPriority 4
bind ssl cipher TLS1.3_Ciphers_Group -cipherName TLS1.2-ECDHE-ECDSA-AES256-GCM-SHA384 -cipherPriority 5
bind ssl cipher TLS1.3_Ciphers_Group -cipherName TLS1.2-DHE-RSA-AES256-GCM-SHA384 -cipherPriority 6
bind ssl cipher TLS1.3_Ciphers_Group -cipherName TLS1.2-ECDHE-ECDSA-AES128-GCM-SHA256 -cipherPriority 7
bind ssl cipher TLS1.3_Ciphers_Group -cipherName TLS1.2-ECDHE-RSA-AES256-GCM-SHA384 -cipherPriority 8
Create a new SSL Profile for NetScaler Gateway and enable default SSL Profiles.
create ssl dhparam dhkey2048.key 2048 -gen 2

add ssl profile ns_default_ssl_nsg_frontend -dh ENABLED -dhFile "/nsconfig/ssl/dhkey2048.key" -sessReuse ENABLED -sessTimeout 120 -tls1 DISABLED -tls11 DISABLED -tls13 ENABLED -denySSLReneg NONSECURE -HSTS ENABLED -maxage 157680000 -zeroRttEarlyData ENABLED

set ssl parameter -defaultProfile ENABLED

bind ssl profile ns_default_ssl_nsg_frontend -cipherName TLS1.3_Ciphers_Group -cipherPriority 1
Create a new Portal Theme based on RFWebUI or use the default RFWebUI
# Portal Themes
# -------------
add vpn portaltheme RFWebUI-Custom -basetheme RfWebUI
Create authentication actions and policies
# AAA Global Settings
# -------------------
enable ns feature AAA

# LDAP Actions
# ------------
add authentication ldapAction auth_ldaps_server -serverIP 10.10.1.1 -serverPort 636 -ldapBase "DC=domain,DC=com" -ldapBindDn "CN=NetScaler Auth,OU=Service Accounts,DC=domain,DC=com" -ldapBindDnPassword service_account_password -ldapLoginName samAccountName -groupAttrName memberOf -subAttributeName CN -secType SSL -passwdChange ENABLED

# OAuth Actions
# -------------
add authentication OAuthAction duo_oauth_server -authorizationEndpoint "https://YOUR-DUO-API-HOSTNAME/oauth/v1/authorize\?scope=openid" -tokenEndpoint "https://YOUR-DUO-API-HOSTNAME/oauth/v1/token" -clientID YOUR-DUO-CLIENT-ID -clientSecret YOUR-DUO-CLIENT-SECRET -OAuthMiscFlags EnableJWTRequest -tokenEndpointAuthMethod client_secret_jwt -PKCE disabled

# Advanced Authentication Policies
# --------------------------------
add authentication Policy nfactor_ldaps_auth_policy -rule true -action auth_ldaps_server

add authentication Policy nfactor_web_radius_auth -rule true -action duo_oauth_web_server
Upload a new LoginSchema
- Navigate to Security > AAA > Login Schema.
- Click the Policies tab, and then click Add.
- In Profile, select the login schema profile created earlier.
- In Rule, enter the default syntax expression and click Create.
This is a Custom XML file you can use
<?xml version="1.0" encoding="UTF-8"?>
<AuthenticateResponse xmlns="http://citrix.com/authentication/response/1">
<Status>success</Status>
<Result>more-info</Result>
<StateContext/>
<AuthenticationRequirements>
<PostBack>/nf/auth/doAuthentication.do</PostBack>
<CancelPostBack>/nf/auth/doLogoff.do</CancelPostBack>
<CancelButtonText>Cancel</CancelButtonText>

<Requirements>
<Requirement>
<Credential><Type>none</Type></Credential>
<Label><Text>singleauthmanageotp_please_log_on</Text><Type>nsg-login-label</Type></Label>
<Input/>
</Requirement>
<Requirement><Credential><ID>login</ID><SaveID>ExplicitForms-Username</SaveID><Type>username</Type></Credential><Label><Text>singleauth_user_name</Text><Type>nsg-login-label</Type></Label><Input><Text><Secret>false</Secret><ReadOnly>false</ReadOnly><InitialValue/><Constraint>.+</Constraint></Text></Input></Requirement>
<Requirement><Credential><ID>passwd</ID><SaveID>ExplicitForms-Password</SaveID><Type>password</Type></Credential><Label><Text>singleauth_password</Text><Type>nsg-login-label</Type></Label><Input><Text><Secret>true</Secret><ReadOnly>false</ReadOnly><InitialValue/><Constraint>.+</Constraint></Text></Input></Requirement>
<Requirement><Credential><Type>none</Type></Credential><Label></Label><Input/></Requirement>
<Requirement><Credential><ID>saveCredentials</ID><Type>savecredentials</Type></Credential><Label><Text>singleauth_remember_my_password</Text><Type>nsg-login-label</Type></Label><Input><CheckBox><InitialValue>false</InitialValue></CheckBox></Input></Requirement>
<Requirement><Credential><ID>loginBtn</ID><Type>none</Type></Credential><Label><Type>none</Type></Label><Input><Button>singleauth_log_on</Button></Input></Requirement>
</Requirements>
</AuthenticationRequirements>
</AuthenticateResponse>
# Login Schemas
# -------------
add authentication loginSchema duo_login_schema -authenticationSchema "/nsconfig/loginschema/OAuth-DuoSingleAuth.xml" -userExpression "AAA.USER.ATTRIBUTE(1)" -passwdExpression "AAA.USER.ATTRIBUTE(2)" -userCredentialIndex 1 -passwordCredentialIndex 2 -SSOCredentials YES
# Login Schema Policies
# ---------------------
add authentication loginSchemaPolicy duo_login_policy_schema -rule true -action duo_login_schema
# Authentication Policy Labels
# ----------------------------
add authentication policylabel nfactor_radius_auth_pol -loginSchema LSCHEMA_INT
set authentication policylabel nfactor_radius_auth_pol -loginSchema LSCHEMA_INT
bind authentication policylabel nfactor_radius_auth_pol -policyName nfactor_web_radius_auth -priority 110 -gotoPriorityExpression END
Setup your nFactor Authentication flow:
# Authentication Virtual Servers
# ------------------------------
add authentication vserver nFactor_nsg-AAA SSL 0.0.0.0 -appflowLog DISABLED
bind authentication vserver nFactor_nsg-AAA -policy _cacheTCVPNStaticObjects -priority 10 -gotoPriorityExpression END -type REQUEST

bind authentication vserver nFactor_nsg-AAA -policy _cacheOCVPNStaticObjects -priority 20 -gotoPriorityExpression END -type REQUEST

bind authentication vserver nFactor_nsg-AAA -policy _cacheVPNStaticObjects -priority 30 -gotoPriorityExpression END -type REQUEST

bind authentication vserver nFactor_nsg-AAA -policy _mayNoCacheReq -priority 40 -gotoPriorityExpression END -type REQUEST

bind authentication vserver nFactor_nsg-AAA -policy _cacheWFStaticObjects -priority 10 -gotoPriorityExpression END -type RESPONSE

bind authentication vserver nFactor_nsg-AAA -policy _noCacheRest -priority 20 -gotoPriorityExpression END -type RESPONSE

bind authentication vserver nFactor_nsg-AAA -policy duo_login_policy_schema -priority 100 -gotoPriorityExpression END

bind authentication vserver nFactor_nsg-AAA -policy nfactor_ldaps_auth_policy -priority 100 -nextFactor nfactor_radius_auth_pol -gotoPriorityExpression NEXT

# Authentication Profiles
# -----------------------
add authentication authnProfile nFactor-AAA-Profile -authnVsName nFactor_nsg-AAA
Create a new SSO Traffic Policy and Action. This is critical; StoreFront logins will fail without this configuration, disrupting user access entirely.
# Citrix Gateway Traffic Profiles
# -------------------------------
add vpn trafficAction nFactorSSO_action http -kcdAccount NONE -userExpression "AAA.USER.ATTRIBUTE(1)" -passwdExpression "AAA.USER.ATTRIBUTE(2)"

# Citrix Gateway Traffic Policies
# -------------------------------
add vpn trafficPolicy nFactorSSO_policy true nFactorSSO_action
Create new or use existing Session Policies
# Citrix Gateway Session Profiles
# -------------------------------
add vpn sessionAction Web-Session-Prod-Profile -sessTimeout 20 -transparentInterception OFF -defaultAuthorizationAction ALLOW -SSO ON -icaProxy ON -wihome "https://storefront.domain.com/Citrix/StoreWeb" -ClientChoices OFF -ntDomain domain.com -clientlessVpnMode OFF

add vpn sessionAction Desktop-Session-Prod-Profile -sessTimeout 20 -splitTunnel OFF -transparentInterception OFF -defaultAuthorizationAction ALLOW -SSO ON -icaProxy ON -wihome "https://storefront.domain.com/Citrix/StoreWeb" -ClientChoices OFF -ntDomain domain.com -clientlessVpnMode OFF -storefronturl "https://storefront.domain.com"

# Citrix Gateway Session Policies
# -------------------------------
add vpn sessionPolicy Web-Session-Prod-Policy "HTTP.REQ.HEADER(\"User-Agent\").CONTAINS(\"CitrixReceiver\").NOT" Web-Session-Prod-Profile

add vpn sessionPolicy Desktop-Session-Prod-Policy "HTTP.REQ.HEADER(\"User-Agent\").CONTAINS(\"CitrixReceiver\")" Desktop-Session-Prod-Profile
Create Citrix Gateway
# Citrix Gateway Virtual Servers
# ------------------------------
add vpn vserver citrix.domain.com SSL 192.168.1.100 443 -dtls OFF -Listenpolicy NONE -tcpProfileName nstcp_default_XA_XD_profile -authnProfile nFactor-AAA-Profile

bind vpn vserver citrix.domain.com -staServer "http://YOUR-STA-SERVER"
bind vpn vserver citrix.domain.com -staServer "http://YOUR-STA-SERVER"

bind vpn vserver citrix.domain.com -portaltheme RFWebUI-Custom

bind vpn vserver citrix.domain.com -policy Web-Session-Prod-Policy -priority 100 -gotoPriorityExpression NEXT -type REQUEST

bind vpn vserver citrix.domain.com -policy Desktop-Session-Prod-Policy -priority 110 -gotoPriorityExpression NEXT -type REQUEST

bind vpn vserver citrix.domain.com -policy nFactorSSO_policy -priority 100 -gotoPriorityExpression END -type REQUEST

set ssl vserver citrix.domain.com -sslProfile ns_default_ssl_nsg_frontend

bind ssl vserver citrix.domain.com -certkeyName cert_wildcard
TESTING
Review NetScaler logs
Putty to the active NetScaler and type the following:
shell

cd /tmp

cat aaad.debug
You can filter the log by a user name, for example:
cat aaad.debug | grep druizYou will observe that LDAP authentication succeeds, followed by a message indicating that NetScaler is delegating the authentication process. In this case, the delegation is directed to the new DUO NetScaler Web application using the configured OAuth action and policy.

Let’s proceed by reviewing the ns.log file. We’ll filter the log entries based on the AAA authentication policies to extract more detailed information. Here’s the approach:
cd /var/log

tail -f ns.log | grep -v CMD_EXECUTED | grep SSLVPN | grep AAA
Below, we can observe that both LDAPS and the new OAuth authentication mechanisms are successfully loaded. This indicates that the required configurations for secure LDAP and the OAuth-based delegation have been applied correctly and are operational.

CONCLUSION:
Integrating NetScaler 14.1 with Duo Universal Prompt using OAuth provides a seamless and secure authentication experience without needing Citrix Federated Authentication Service (FAS). This approach eliminates the complexity and overhead associated with deploying additional servers and configuring a Certificate Authority (CA), which are prerequisites for FAS.
Key Benefits:
- Simplified Infrastructure:
- By removing the dependency on Citrix FAS, additional FAS servers or a dedicated CA are no longer needed, reducing hardware, licensing, and administrative costs.
- Streamlined Deployment:
- OAuth with Duo Universal Prompt is easier to configure and manage, leveraging modern authentication protocols and Duo’s secure cloud infrastructure.
- Enhanced Security:
- Duo Universal Prompt provides strong multi-factor authentication (MFA), ensuring secure access without relying on certificate-based authentication provided by FAS.
- Increased Scalability:
- The absence of FAS and CA-related requirements simplifies scaling the environment as organizational needs grow.
- Future-Proof Solution:
- OAuth is a widely adopted industry standard, ensuring compatibility with other modern identity providers and authentication workflows.
By leveraging NetScaler’s OAuth capabilities with Duo Universal Prompt, organizations can achieve secure, efficient, and cost-effective authentication, avoiding the additional complexity of Citrix FAS. This makes it an ideal solution for organizations looking to modernize their authentication stack while minimizing operational overhead.


You must be logged in to post a comment.