-
 Continue reading →: NetScaler SSL A+ Secured VIPs
Below are the steps I followed to score an A+ with Qualys while working on a new XenMobile 🙂 and NetScaler Unified Gateway deployment. There are some caveats however since Citrix is now delivering TLS1.2 with TLS_FALLBACK-protection across all NetScaler products. Good right? well if you are running a version below 10.5.57.7.nc you will…
-
 Continue reading →: NetScaler Gateway 11 footer customization
Ran into difficulties customizing a new NetScaler 11 Gateway. Although I was happy to finally be able to apply themes per NetScaler Gateway vServer, I quickly saw that this new option presents new challenges if you are looking to customize beyond what the themes allow. Our goal was to add footer information…
-
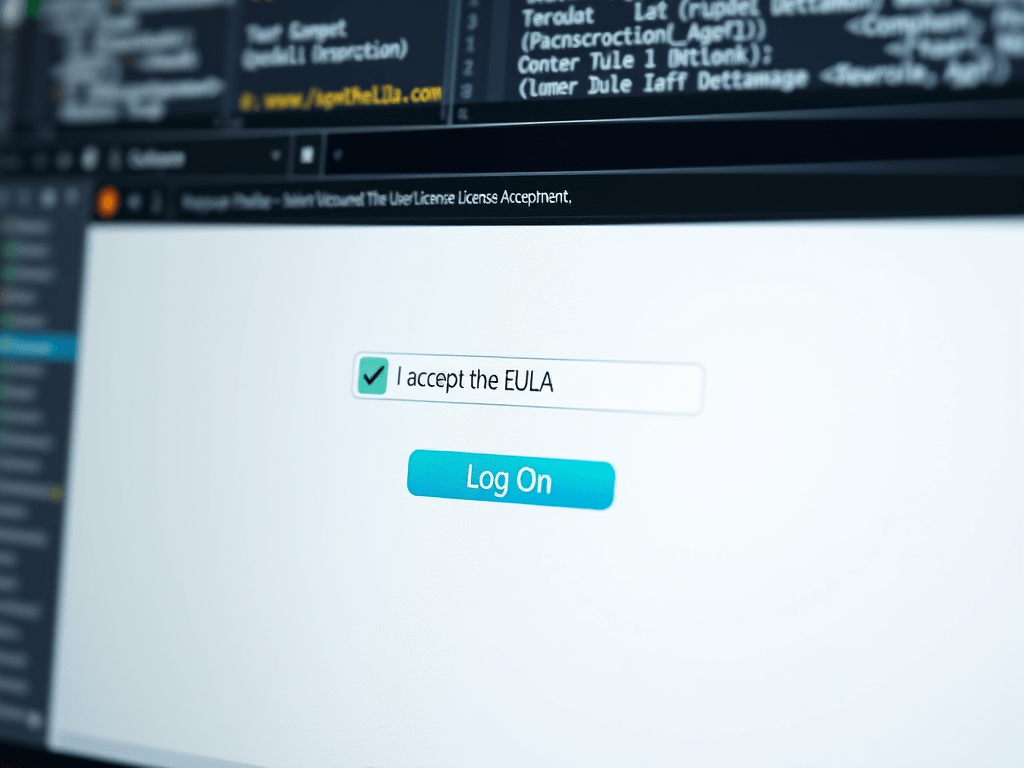 Continue reading →: Automatic NetScaler Gateway 11 EULA Acceptance
With the new release of Citrix NetScaler 11, we now have the option to setup an End User License Agreement for users prior to logging in. After getting the NetScaler Gateway configured and enabling EULA policies, I thought it would be useful to have the check box enabled, and the Log On button…
-
Continue reading →: Provide Citrix Receiver download link on NetScaler Gateway authentication page based on Client OS
While working on a new StoreFront/NetScaler Gateway implementation, I was asked to provide a Citrix Receiver link on the NetScaler Gateway authentication page, although I thought this was a pretty simple task, I figure we would make this fancier and detect the Client OS then provide the proper Citrix Receiver…
-
Continue reading →: NetScaler Gateway front page à la StoreFront 3.0
Below are the steps on how to brand the NetScaler Gateway front page to look similar to the new release of StoreFront 3.0. If you are enabling the VPN (AKA Client Choices), then I also suggest you read my Citrix NetScaler Gateway Client Choices branding post. And finaly take a peek…
Hello,
I’m Daniel

Welcome to my tech corner, your go-to destination for insights, tips, and deep dives into NetScaler, Citrix, virtualization, and cloud technologies.
Here, I share expertise, practical guides, and the latest trends to empower IT professionals and enthusiasts.
Let’s connect
Join the newsletter
Stay updated with our latest tutorials and ideas by joining our newsletter.


You must be logged in to post a comment.