
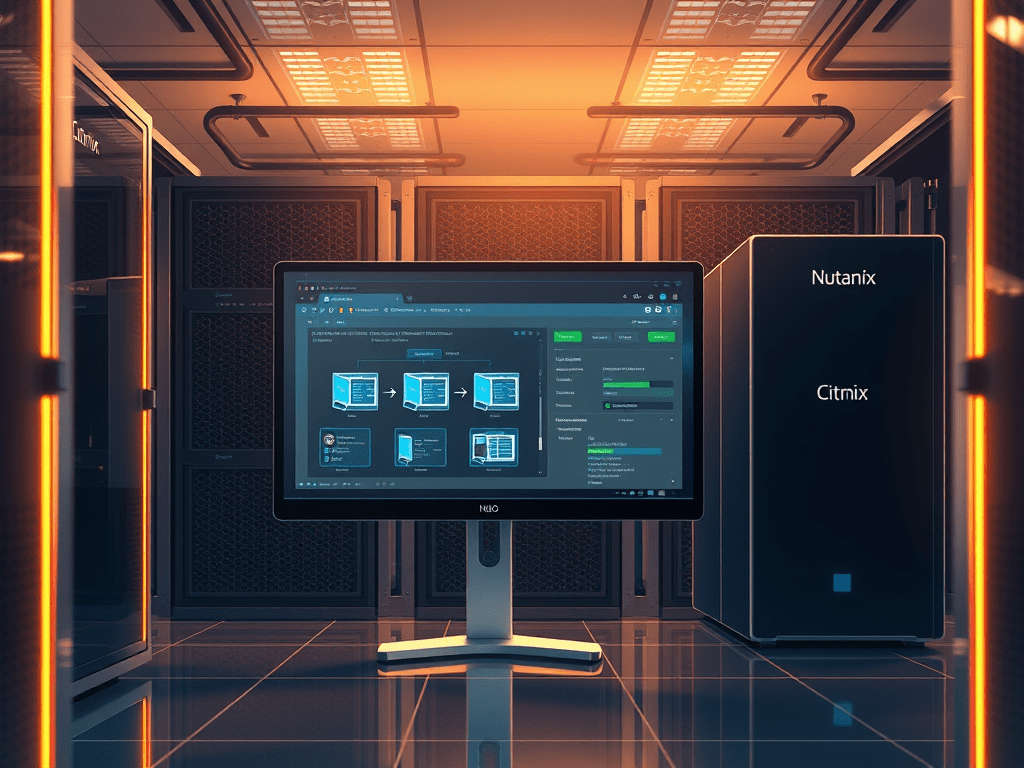
Been working on deploying the NetScaler Unified Gateway for the last few weeks. Our goal is to simply create a unified page to access internal resources such as Outlook Web Access, Intranet, ShareFile, as well as XenApp/XenDesktop resources running on the new version of Citrix StoreFront 3.9. As a side note, I will be posting my customization code on StoreFront 3.9 in the coming weeks.
First let me discuss (again) about an issue I noticed with version of NetScaler NS11.0 running 63.16.nc when working with Content Switches and ZeroIP NetScaler Gateways.
I ran into a bug that crashed at a content switch bind (cs_state_bind) which our friends at Citrix confirmed they have seen this in earlier builds while binding a CS action to VPN vServer (ZeroIP). Meaning, that I was binding a profile policy/action to a NetScaler Gateway with a ZeroIP, which is exactly what a content switch Netscaler Gateway actually is.
This bug is has been fixed from 11.0 Build 64.x and later, and 11.1. In my case I upgraded to the now latest version of 11.0 70.12nc.
Lets get started:
On your StoreFront server, make sure that the Enable Remote Access setting for the store is set to No VPN or Full VPN tunnel

In the web.config file, located in drive:/inetpub/wwwroot/citrix/storeweb, make sure to set X-Frame-Options to allow and Content-Security-Policy to frame-ancestors ‘self‘. You will see 3 entries for this. Make sure you change them all. This will allow the page to come up with all browsers including IE. Once the changes are made, simply reset IIS or reboot your SF server(s)

On the NetScaler Session Profile the following settings are required:

- On the Client Experience tab:
Clientless Access = ON
Single Sign-on to Web Applications = Checked
Credentials Index = PrimaryOn the Security tab:
Default Authorization Action = AllowOn the Published Applications tab:
ICA Proxy = OFF
Web Interface Address = https://serverFQDN/Citrix/StoreWeb (StoreWeb is the actual store name).
Single Sign-on Domain = Configured

Make sure you use the FQDN link to your storefront server. You can run into an issue within Clientless Access mode not displaying the Storefront Server page if you configure to an IP.

Once changed to FQDN the page displayed successfully (Ex: https://server.domain.com/Citrix/meWeb/)

This is a sample of the session profile I manually created and binded to the session policy the UG Wizard created.
add vpn sessionAction UG_VPN_SAct_dmz -defaultAuthorizationAction ALLOW -SSO ON -windowsAutoLogon ON -wihome “https://server.domain.com/Citrix/meWeb/” -wiPortalMode COMPACT -ClientChoices ON -ntDomain name_of_domain -clientlessVpnMode ON -emailHome “https://mail.domain.com/owa/”
Optionally, you can bypass the Client Choices option on NetScaler Unified Gateway with a Responder policy. This way users wont have to click on the Client Access option, but instead be redirected to it after user log on.

To do this:
Create a Responder action based on the URL your users will be connecting to
add responder action ug_redirect_ac redirect “\”https://name.domain.com/cgi/setclient?cvpn\”” -responseStatusCode 302
Create a Responder policy, notice it is looking for that choices.html page
add responder policy ug_redirect_pol “HTTP.REQ.HOSTNAME.EQ(\”name.domain.com\”) && HTTP.REQ.URL.CONTAINS(\”vpns/choices.html\”)” ug_redirect_ac
Bind the Responder policy to the NetScaler Gateway the UG config creates. In my case it is called UG_VPN_ug_gtw_dmz
bind vpn vserver UG_VPN_ug_gtw_dmz -policy ug_redirect_pol -priority 100 -gotoPriorityExpression END -type REQUEST
Once the policy is binded, users will simply be redirected to the “Clientless Access” portion of the site without being prompted to select VPN, Clientless Access, or good old StoreFront/Web Interface
That is it! Hope this helps! Cheers ![]()
Disclaimer:
I do not accept any responsibility or liability for the accuracy, content, completeness, legality, or reliability of the information contained on this website.


Leave a comment