Skip to content
Sign up for a free VDI e-book →
Daniel Ruiz
Search
About
Citrix
Citrix Technologies
XenApp
Citrix XenApp
XenDesktop
Citrix XenDesktop
Web Interface
Citrix Web Interface
StoreFront
PVS
Provisioning Services
NetScaler
Citrix NetScaler
Access Gateway
EdgeSight
Citrix EdgeSight
Merchandising Server
Citrix IRC
VMware
VMware updates
Category:
Citrix
How to block external access to the XenMobile Self Help Portal and NetScaler Gateway Page
NetScaler Unified Gateway / SSO with Citrix StoreFront 3.9 and Client Access Mode
Bypass Client Choices on NetScaler Unified Gateway
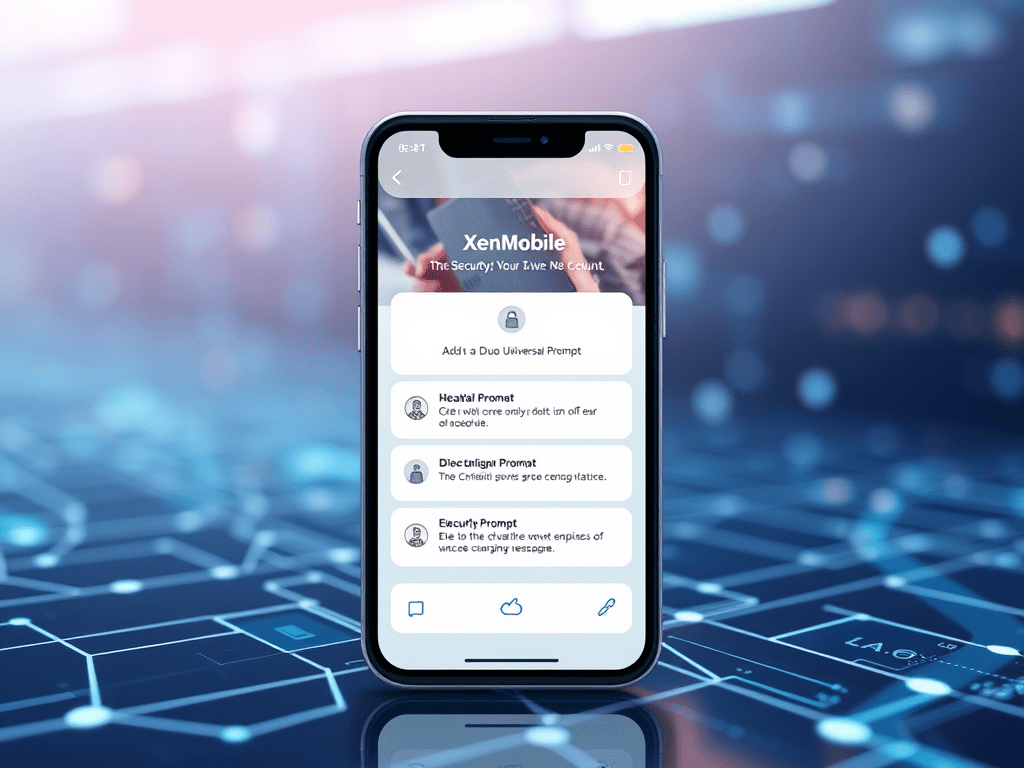
Duo two-factor authentication with NetScaler Gateway
Set up a maintenance page on Netscaler Gateway
Previous Page
Next Page
Privacy & Cookies: This site uses cookies. By continuing to use this website, you agree to their use.
To find out more, including how to control cookies, see here:
Cookie Policy
Subscribe
Subscribed
Daniel Ruiz
Join 68 other subscribers
Sign me up
Already have a WordPress.com account?
Log in now.
Daniel Ruiz
Subscribe
Subscribed
Sign up
Log in
Report this content
View site in Reader
Manage subscriptions
Collapse this bar